

Laundry Room Renovation on a Realistic Budget: Our DIY Journey
For three years, our laundry room was the room we closed the door on. A 1970s Maytag pair sat on cracked linoleum, the dryer vented into a plastic slinky that collected lint like a science experiment, and the only “storage” was a sagging wire shelf held up by two drywall anchors. The turning point came on a February morning in Ontario when the washer drained and the floor drain backed up — again. We stood there in rubber boots, looked at each other, and decided we were done paying someone else to patch a room we hated. This is how we renovated our laundry room ourselves, on a budget we could actually afford, without cutting corners on the stuff that matters in a Canadian climate.
Assessing Your Laundry Room and Setting a Realistic Budget
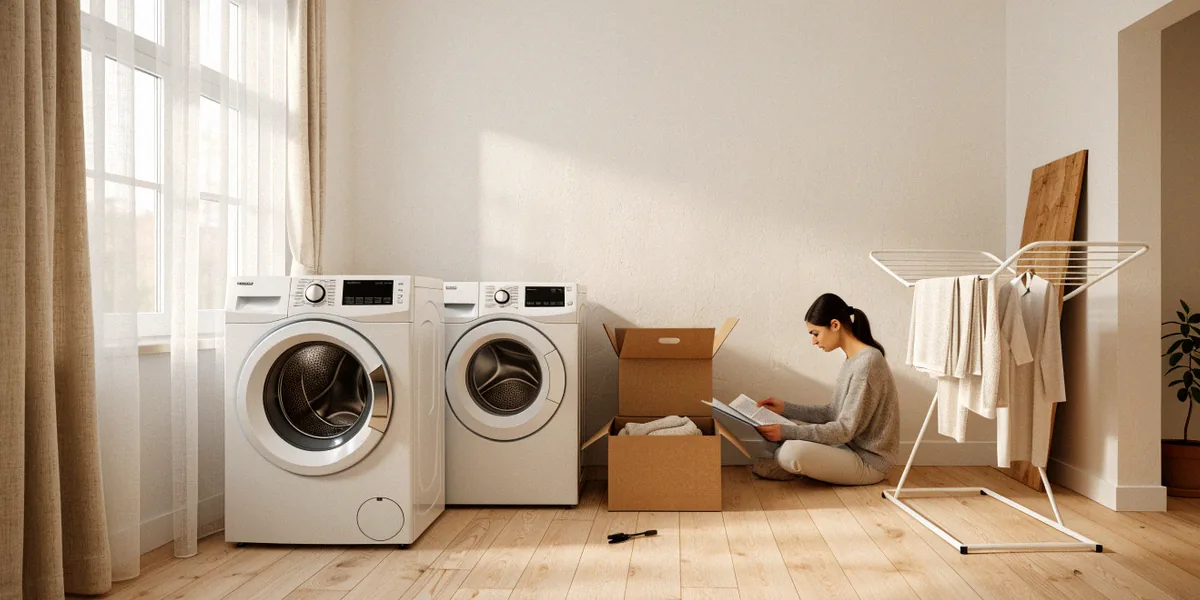
Before you swing a hammer, spend a weekend living with the space and writing down everything that annoys you. That list becomes your scope. According to HomeStars, the average Canadian laundry room renovation runs roughly $10,000 to $25,000 when you hire everything out — a number that made us swallow hard. Doing the demolition, painting, flooring, and finishing ourselves brought our total to just over $4,300. The trick was separating must-haves from nice-to-haves before we set a single dollar figure.
What to Look for in a Dated Laundry Room
Walk into your laundry room with a flashlight and a notepad. We checked for:
- Water staining under the washer, around the floor drain, and behind the drywall
- Flexible plastic dryer duct (a fire hazard — rigid metal is the standard now)
- Whether the washer and dryer share a circuit with other outlets
- Insulation gaps on exterior walls, which cause condensation and mould in winter
- Signs of previous DIY electrical work: ungrounded outlets, missing junction box covers, aluminum wiring
If your home is a timber frame house with exposed beams, look at how the ceiling structure handles the dryer vent run. We couldn’t drill through a 200-year-old white oak beam, so we routed the vent along the joist bay instead.
How to Set a Budget That Won’t Blow Up
We built our budget in three tiers: fixed costs (permits, licensed electrician, plumbing rough-in), variable costs (materials we could source on sale), and a 20% contingency. That contingency got used — twice. Hidden costs in a laundry reno almost always come from one of three places: water damage behind walls, code upgrades triggered by new work, and insulation you didn’t plan to replace. Budget for all three even if you hope you won’t need them.
Navigating Building Permits and Canadian Building Codes
This is the part most DIY blogs gloss over, and it’s the part that can cost you thousands if you get it wrong. Building permits exist to protect you, your family, and whoever buys your house next. In Canada, requirements vary by province and municipality, so always call your local building department before you start.
When You Need a Permit (and When You Don’t)
In general, you need a building permit in Canada when your laundry renovation involves:
- Adding, moving, or removing electrical circuits or outlets
- Relocating plumbing supply lines or drain pipes
- Removing or altering load-bearing walls
- Adding a new window, door, or exterior vent penetration
Cosmetic work — paint, flooring, swapping a cabinet for another cabinet in the same spot — typically doesn’t require a permit. In Ontario, the Building Code Act and the Ontario Electrical Safety Code apply; in BC, the BC Building Code and Technical Safety BC govern electrical and gas work. In both provinces, dryer venting must meet specific requirements for length, material, and termination, and a licensed electrician should handle the dedicated 240V dryer circuit and any bonding of gas lines.
Working with Inspectors and Staying Compliant
Our inspector was genuinely helpful. We called before we started, asked what he wanted to see at each stage, and booked inspections as we went. The trick is to be honest about what you’re doing and never cover up work before it’s been signed off. A failed inspection costs less than a house fire or an insurance claim denial.
DIY Demolition and Structural Considerations
Demolition is the fun part — until it isn’t. We pulled out the old cabinets, pried up the linoleum, and cut out the water-damaged drywall in an afternoon. The next morning we found black mould behind the baseboard along the exterior wall. That’s the reality of renovating a 50-year-old laundry room.
Tools and Safety Gear You’ll Need
We bought most of our gear at Canadian Tire and already owned the rest:
- Pry bar, hammer, and utility knife for cabinet and flooring removal
- Oscillating multi-tool for cutting drywall cleanly around outlets
- N95 respirator, safety glasses, and gloves — non-negotiable once you find mould
- Shop vac with a HEPA filter for dust and debris
- Stud finder and a good level for the rebuild phase
Dealing with Hidden Mold and Water Damage
Small patches of surface mould can be cleaned with a proper fungicide and allowed to dry fully. Larger areas — anything bigger than about a square metre, or anything that’s penetrated the framing — should be cut out and replaced. We removed the affected drywall, treated the studs, and let the cavity dry for three days with a fan running before we closed it back up. If you find mould in a timber frame house, don’t sand or blast it — call a specialist, because the structural members are not something you want to compromise.
Upgrading Insulation, Plumbing, and Electrical
This is where your renovation stops being cosmetic and starts being a real improvement. It’s also where the money goes, and where the energy savings come from.
Insulating for Canadian Winters
We insulated the exterior wall with Roxul (now Rockwool) mineral wool batts. It’s moisture-resistant, fire-resistant, and handles freeze-thaw cycles far better than fiberglass in a laundry room where humidity swings constantly. We also sealed every penetration with acoustic sealant and added a vapour barrier patch. If you’re doing a deeper energy retrofit, look into the Canada Greener Homes Grant — it covered a portion of our insulation and air-sealing costs, and it’s worth checking current program status before you buy materials.
Plumbing and Electrical Upgrades Done Right
We rerouted the supply lines with PEX, which is cheap, flexible, and forgiving for a DIYer. The drain we left to a plumber because slope matters more than most people realize. On the electrical side, we hired a licensed electrician to run a dedicated 20A circuit for the washer and a 240V circuit for the dryer, plus a GFCI outlet near the sink. That was $850 well spent. Enbridge also offers rebates for certain energy-efficient upgrades, so check what applies in your region before you buy appliances.
Choosing Budget-Friendly Finishes and Storage
Finishes are where a renovation either looks expensive or looks like a rental. We aimed for the first one on a rental budget.
Flooring, Cabinets, and Countertops on a Dime
We used luxury vinyl plank from Home Depot Canada — waterproof, click-lock, and about $3 per square foot. The cabinets came from IKEA Canada: stock KNOXHULT units that fit our space almost perfectly. For the countertop, we built a simple plywood base and topped it with a pre-cut butcher block, sanded and sealed with three coats of tung oil. Total for cabinets and counter: under $700.
Smart Storage and Organization Ideas
- Open shelving above the washer for detergent and supplies
- A fold-down drying rack mounted to the wall — folds flat when not in use
- Wall-mounted ironing board that tucks into a 4-inch cavity
- A rolling hamper cart that slides between the washer and dryer
Final Touches and Lessons Learned
Trim, paint, and a new LED light made the room feel finished. We hung a simple peg rail for drying delicates and called it done.
Our Total Spend and Timeline
Total spend: $4,312. Timeline: five weekends spread over seven weeks, mostly because we waited on inspections and let materials acclimatize. The biggest line items were the electrician ($850), insulation ($420), flooring ($510), and the IKEA cabinets ($560). Everything else was paint, trim, fasteners, and a lot of trips to Canadian Tire.
Tips for First-Time Renovators
- Call your building department before you buy anything.
- Photograph every wall before you close it up.
- Buy your contingency materials early — prices don’t go down.
- Hire out what you can’t legally or safely do yourself.
- Live with the layout for a week before you commit to cabinets.
FAQ
Do I need a permit for a laundry room renovation in Canada?
It depends on the scope. Cosmetic changes like paint and flooring generally don’t require a permit, but any electrical, plumbing, or structural work does. Always confirm with your local municipality, since requirements differ between provinces like Ontario and BC.
How much does a DIY laundry room renovation cost in Canada?
Our project came in at just over $4,300 doing almost everything ourselves. A fully contracted renovation typically runs $10,000 to $25,000 according to HomeStars, depending on finishes and whether plumbing or electrical need to be moved.
What insulation is best for a Canadian laundry room?
We used Roxul (now Rockwool) mineral wool batts because they resist moisture and mould, handle freeze-thaw cycles well, and add fire resistance. Pair them with proper air sealing and a vapour barrier for the best results.
Can I vent my dryer myself?
You can install the ductwork, but the electrical connection for the dryer should be done by a licensed electrician, and gas dryers must be connected by a licensed gas fitter. Use rigid metal duct, keep the run as short as possible, and terminate it outside with a proper hood.
Are there rebates available for laundry room upgrades?
Yes. The Canada Greener Homes Grant has covered insulation and air-sealing work, and Enbridge offers regional rebates for certain energy-efficient upgrades. Check current program details before you purchase materials or appliances.
Renovating a laundry room isn’t glamorous, but it’s one of the most satisfying projects a Canadian homeowner can take on. With careful planning, honest budgeting, and a willingness to hire licensed trades for the work that matters, you can turn a room you avoid into one you’re proud of — and learn a lot about your house in the process.