
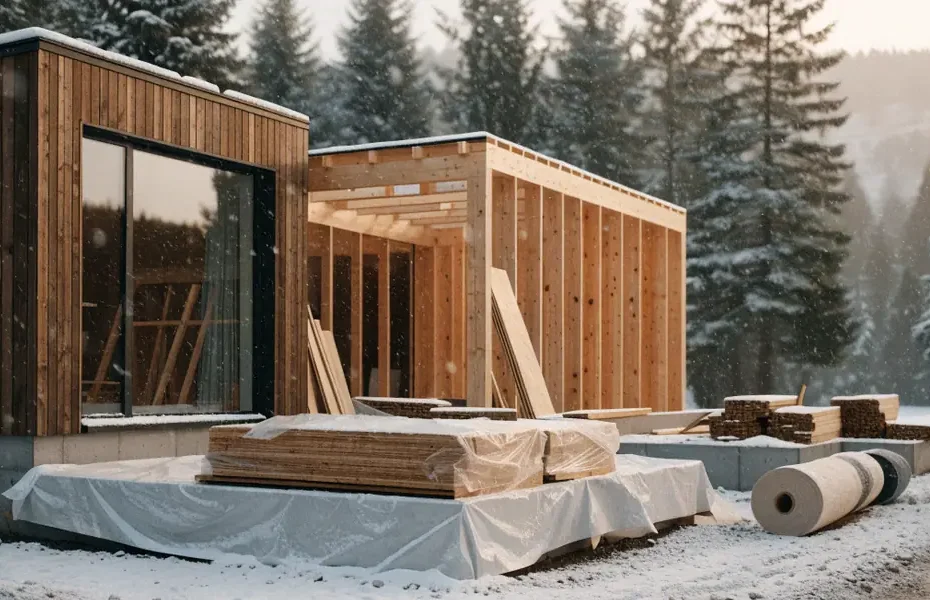
Winterizing a Half-Built House: Protecting Your Project from Frost
The first hard frost hit our build site near Peterborough, Ontario, on October 3rd — three weeks earlier than the forecast suggested. We stood there at 6 a.m. looking at a framed shell with no windows, a tarp flapping loose over the ridge beam, and a half-poured foundation wall we’d just stripped of forms. That morning taught us more about winterizing a half-built house than any manual ever could. If you’re mid-build in Canada and the snow is coming, this is the stuff that actually matters.
Why Winterizing a Half-Built House Is Non-Negotiable in Canada
Canadian winters don’t negotiate. They freeze, thaw, freeze again, and load your structure with snow and ice in ways that can undo months of work. The National Building Code of Canada sets out requirements for frost protection and foundation depth precisely because the ground here moves when it freezes. If you’re running a build your own home Canada project and you skip winter prep, you’re not saving time — you’re gambling with your foundation, your framing, and your budget.
Frost Heave and Foundation Damage
Frost heave happens when moisture in the soil freezes, expands, and lifts whatever sits on top of it. On an unfinished build, that means foundation cracks, misalignment between footings and walls, and in bad cases, a wall that needs to come down. If your foundation isn’t backfilled and capped properly before the ground freezes, you’re inviting trouble. We always check that footings are below the local frost line — typically 4 feet in southern Ontario, deeper in the Prairies — and that any exposed concrete is covered.
Frozen Pipes and Water Damage
Rough-in plumbing is one of the most vulnerable parts of a half-built home. Water left in supply lines freezes, expands, and splits PEX or copper. When it thaws in spring, you get a flood inside your framing. Drain every line, blow them out with compressed air, and shut off the main. If you have a temporary water source on site, drain that too.
Material Degradation from Snow and Ice
OSB swells. Drywall turns to mush. Lumber warps and twists. Cement bags harden into bricks. Snow sitting on an unprotected subfloor can stain, warp, and delaminate it within weeks. Ice dams on a temporary roof can push water into places you won’t find until spring.
Essential Steps to Protect Your Structure Before the Deep Freeze
Sealing the building envelope is the single highest-return task you can do before winter. It keeps snow out, holds heat in if you’re running temporary heat, and protects your framing from moisture cycling. Before you start, check your building permits — some municipalities have winterization clauses or inspection deadlines you need to respect.
Sealing Windows, Doors, and Openings
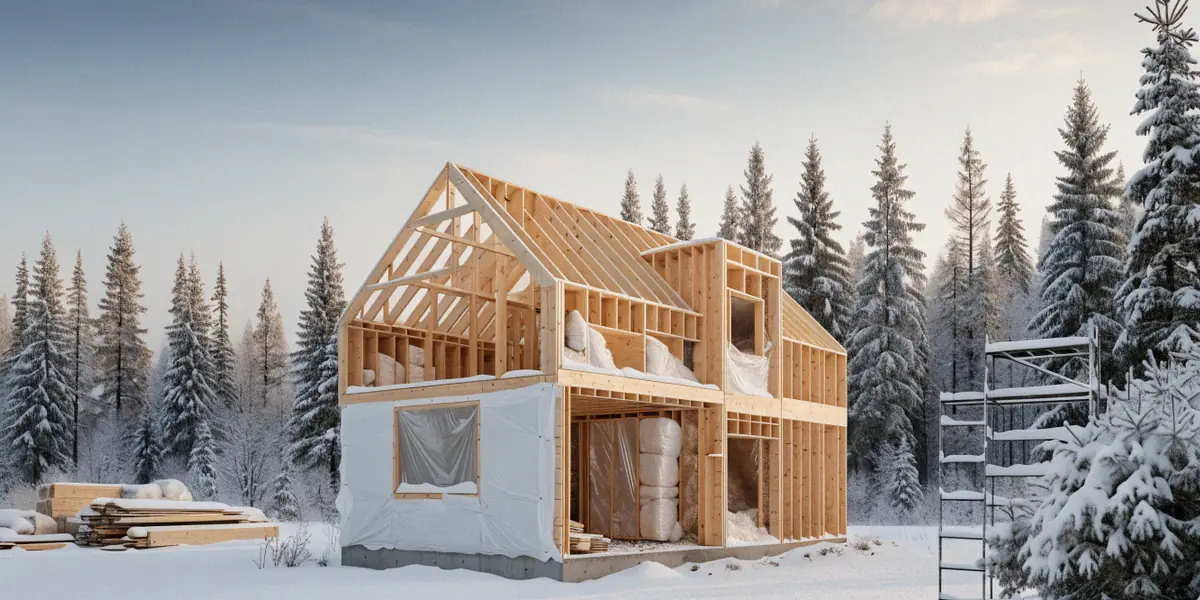
Cover every window and door opening with Tyvek house wrap or a comparable moisture barrier, then cap it with poly and strapping. Tyvek is a common choice because it breathes while blocking bulk water. Install temporary doors — plywood with a weatherstripped frame works fine — so you can still access the interior without leaving a hole open to the sky.
Temporary Roofing and Moisture Barriers
If your roof isn’t shingled, get a proper underlayment down and tarp over it with reinforced poly. We use 6-mil or heavier, battened down with 2x4s screwed to the sheathing so wind can’t rip it off. Slope matters — ponding water will find a way through any tarp.
Bracing and Securing Timber Frame Structures
A timber frame house kit or a partially erected frame is especially vulnerable to wind and snow load. Add diagonal bracing on every wall plane, and check that your temporary connections are rated for the wind loads in your area. A frame that’s fine in July can rack in a January gale.
Insulation and Heating Strategies for a Half-Built Home
Once the envelope is sealed, you can think about heat and insulation. The goal isn’t to make the place cozy — it’s to keep interior temperatures above freezing and prevent condensation from rotting your framing.
Choosing the Right Insulation for Unfinished Walls
For unfinished walls, we usually go with one of these:
- Rigid foam boards (Styrofoam or similar) — fast to install, good R-value, works as a temporary layer
- Spray foam — best air sealing, but requires a contractor and dry conditions
- Batt insulation — cheap, but useless if it gets wet, so keep it dry until the envelope is closed
Using Temporary Heaters Safely
Propane or electric construction heaters will keep a shell above freezing. Vent propane heaters properly — carbon monoxide doesn’t care that you’re in a hurry. Keep heaters on a stable surface, away from tarps and sawdust, and use a thermostat so you’re not burning fuel overnight unnecessarily.
Managing Moisture and Ventilation
Canadian winter temperatures swing hard — a sunny afternoon can push interior humidity up, and then it condenses on cold surfaces at night. Run a dehumidifier, crack a temporary vent, and avoid trapping moisture behind poly without a path for it to escape.
Protecting Your Site, Tools, and Materials from Frost
Your structure isn’t the only thing at risk. Lumber, cement, tools, and finishes all take damage from freeze-thaw cycles and moisture. Good storage now saves a DIY renovation budget later.
Storing Lumber, Cement, and Finishes
Move lumber into a heated sea can or a dry garage. Stack it flat with stickers between layers. Cement and mortar must stay dry and above freezing — a single frozen bag is a bag you throw out. Paint, stain, and adhesives need to be stored above 10°C or they’ll separate.
Winterizing Tools and Equipment
Drain fuel from small engines, or add stabilizer. Bring DeWalt and Makita cordless batteries indoors — cold kills lithium-ion capacity. Grease exposed metal on table saws and generators to prevent rust. Lock everything in a job box or container.
Securing the Site Against Snow Load
Walk the site and remove anything that can blow away or collapse. Brace stacks of material, secure tarps with proper ties (not just bricks), and clear snow off temporary roofs after every major dump. Snow load adds up fast — 30 cm of wet snow can weigh more than 30 kg per square metre.
Legal and Insurance Considerations for Winter Builds
Winter builds come with paperwork most self-builders don’t think about until something goes wrong.
Building Permit Extensions and Inspections
Many Canadian municipalities require you to show progress within a set window. If you’re pausing for winter, apply for an extension before the deadline. Book any inspections you can complete now — foundation, framing, rough-in — so you’re not stuck in line in April.
Insurance Requirements for Unoccupied Builds
Self-build insurance in Canada, including policies from providers like Intact Insurance, often includes clauses about winterization and unoccupied structures. If you don’t follow them — sealing the envelope, maintaining heat, checking the site weekly — a claim can be denied. Read your policy and document everything you do.
Working with Local Authorities
The Canadian Home Builders’ Association and your local municipal building department are both useful resources. A quick call to your inspector about winter expectations can save you a re-inspection fee and a headache in spring.
When to Pause and When to Push Through Winter
Not every build should stop for winter, and not every build should push on. Here’s how we decide.
Assessing Your Build Stage
If the foundation isn’t poured and cured, pause. You can’t safely pour in deep frost without heated enclosures and additives, and the risk of frost heave damage is too high. If the shell is enclosed and weathertight, keep going with interior work.
Interior Tasks for Cold Weather
Framing, wiring rough-in, plumbing rough-in, insulating, and drywall can all happen in a cold shell as long as you have temporary heat and ventilation. The Canada Mortgage and Housing Corporation (CMHC) publishes winter construction guidelines worth reading before you commit.
Planning for Spring Restart
Before you shut down, write a restart checklist: what’s exposed, what needs inspection, what materials need re-ordering, and what the first three tasks will be when the thaw hits. You’ll thank yourself in March.
FAQ
Can I pour a foundation in winter in Canada?
Yes, but it requires heated enclosures, accelerators, and blankets, and it’s expensive. If you can wait until spring, wait. If you must pour, follow the National Building Code of Canada and get an engineer’s sign-off.
How often should I check a half-built house in winter?
At least weekly. Check for snow load on temporary roofs, tarp failure, water intrusion, and heater function. After every major storm, do a walk-through.
Does my self-build insurance cover winter damage?
Only if you’ve followed the winterization clauses in your policy. Providers like Intact Insurance typically require the envelope to be sealed and the site monitored. Keep records.
What’s the best temporary moisture barrier for a half-built house?
Tyvek house wrap for walls, reinforced 6-mil poly for roofs and large openings. Both breathe or shed water well enough to get you through a Canadian winter.
Can I run a propane heater inside a framed shell?
Yes, with ventilation. Propane produces carbon monoxide and moisture. Vent the space, use a CO monitor, and never leave a heater running unattended overnight without a thermostat and clearances.
Winterizing a half-built house isn’t glamorous, but it’s the difference between resuming your build in spring with momentum and resuming it with repairs. A few weekends of sealing, bracing, and storing now will save you thousands and a lot of stress. If you’ve got a frost-protection trick that’s worked on your own self-build in Canada, we’d love to hear it — drop it in the comments and help the next builder out.