
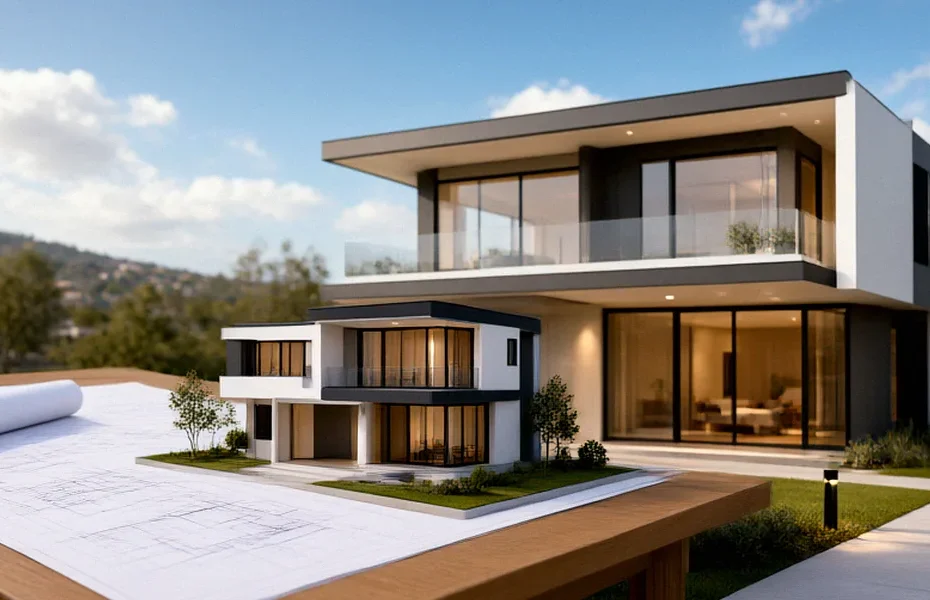
Construction Timeline: From Lot to Move-In
Starting a self-build is one of the most exciting projects you can take on, but we know it can also feel overwhelming. Between buying a lot, securing permits, and managing trades, the road from empty land to move-in day can seem endless. That’s why we’ve put together a realistic, Canada-specific timeline that walks you through every major phase of an owner-builder project. Whether you’re building in Ontario, Alberta, or the Maritimes, this guide will help you understand what happens when, how long it typically takes, and where you should build in buffer time.
Phase 1: Buying Your Lot and Early Planning (Months 1-3)
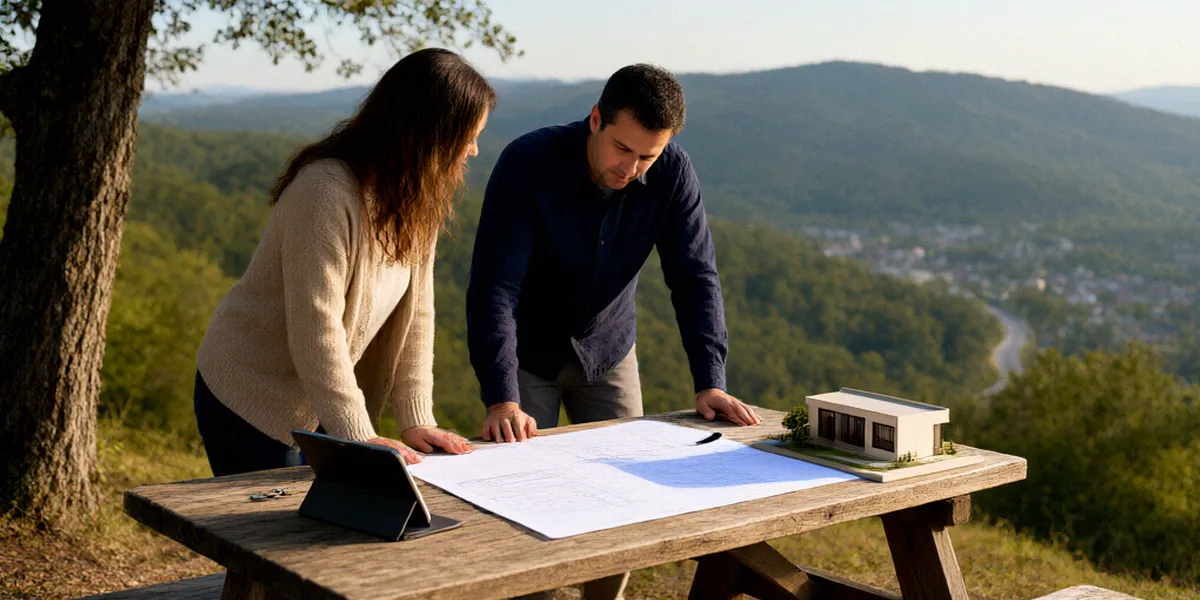
The first three months are all about laying the groundwork. Before you break ground, you need land, a clear understanding of what you’re allowed to build, and financing in place. In Canada, this phase often takes longer than new owner-builders expect, especially if a geotechnical survey or rezoning is required.
Choosing the Right Lot for Your Self-Build
Site selection sets the tone for everything that follows. We recommend walking the lot in person, checking drainage patterns, soil conditions, and sun exposure. A geotechnical survey is often wise before making an offer — it reveals whether you’re dealing with bedrock, clay, or high water tables, all of which affect foundation costs. Access to municipal services, or space for a well and septic system, should also be confirmed early.
Understanding Zoning and Setbacks
Every municipality in Canada has its own zoning bylaws. These dictate minimum lot size, permitted building height, setbacks from property lines, and sometimes even exterior finishes. We always advise checking with your local planning department before purchasing. Variances are possible but add weeks or months to your schedule, so factor that in.
Financing Your Owner-Builder Project
Owner-builder financing in Canada typically comes through a self-build mortgage or a construction loan that releases funds in draws as work progresses. Lenders will want to see your plans, budget, and timeline. Having a realistic schedule from the start — like the one in this guide — helps build confidence with your lender.
Phase 2: Design, Permits, and Approvals (Months 3-6)
Once you own the land, design work and permitting take centre stage. This phase is often the biggest source of delays for self-builders, so we encourage starting early and staying organized.
Working with Designers and Engineers
You’ll need drawings detailed enough for a permit application. Many owner-builders work with a residential designer or architect, plus a structural engineer for beam, footing, and truss specifications. Engineers may also need to stamp drawings for unusual loads, large openings, or complex roof designs.
Applying for Building Permits in Canada
Building permits Canada-wide are issued by municipalities, but requirements vary by province and territory. Most applications require:
- Architectural drawings (floor plans, elevations, sections)
- A site plan showing setbacks, services, and grading
- Structural drawings, often with an engineer’s stamp
- Energy compliance documentation
Your drawings must comply with the National Building Code of Canada plus any provincial or municipal amendments. Review times range from two weeks to several months depending on the jurisdiction and the completeness of your submission.
Other Approvals: Septic, Driveway, and Utilities
Beyond the building permit, you may need a septic permit from your provincial health authority, a driveway culvert approval from the municipality or transportation department, and utility connection agreements for hydro, gas, and water. Each runs on its own timeline, so submit these in parallel whenever possible.
Phase 3: Site Prep and Foundation (Months 6-8)
With permits in hand, excavation begins. This phase is weather-sensitive, and in most of Canada you’ll want to be finished before the ground freezes.
Excavation and Grading
Excavators strip topsoil, dig the basement or crawl space, and prepare grades for drainage. We recommend stockpiling topsoil on-site for later landscaping. Proper grading away from the foundation is critical to keeping water out for decades to come.
Footings and Frost Protection
In colder Canadian regions, footings must sit below the frost line — often 4-6 feet deep depending on your latitude. This prevents frost heave from cracking your foundation. Your engineer or building official will confirm the required depth for your area.
Foundation Types: Poured Concrete, ICF, or Crawl Space
Poured concrete remains the standard, but Insulated Concrete Forms (ICF) are increasingly popular for their energy performance. Brands like Nudura and Logix offer interlocking foam blocks that stack like Lego and are filled with concrete, delivering high R-values and airtight walls. Crawl spaces are a budget-friendly option in milder regions, while full basements add usable living space in most of Canada.
Phase 4: Framing, Roofing, and Windows (Months 8-11)
Framing transforms a foundation into a home. This phase moves quickly if materials are on-site and the weather cooperates.
Framing and Structural Sheathing
Walls, floors, and roof trusses go up first, followed by sheathing and house wrap. We always recommend verifying lumber delivery schedules early — supply chain hiccups can stall a crew for days.
Roofing and Weatherproofing
Once the roof is dried in with underlayment and shingles or metal, your home is protected from rain and snow. Flashing details around valleys, chimneys, and penetrations must be done carefully; this is where most leaks begin.
Installing Window Frames for Canadian Winters
Window frames should be selected specifically for Canadian climate. Triple-glazed units with vinyl or fiberglass frames from brands like Jeld-Wen or Ply Gem offer strong thermal performance and low maintenance. Proper flashing and airtight sealing around each frame is essential — even the best window will leak air and water if installed poorly.
Phase 5: Rough-Ins and Interior Systems (Months 11-14)
With the shell closed in, mechanical and electrical systems go in. In Canada, each rough-in stage requires an inspection before it can be covered up.
Plumbing and Electrical Rough-In
PEX plumbing from brands like Uponor is now standard for its freeze resistance and easy installation. Electrical rough-in includes wiring, panel installation, and box placement. Both trades must pass inspection before drywall.
HVAC and Ventilation
Heating and cooling equipment from Carrier or Lennox is sized based on your home’s heat loss calculation. Modern energy codes like the NECB or provincial equivalents often require a Heat Recovery Ventilator (HRV) to maintain indoor air quality in tightly sealed homes.
Insulation and Vapour Barrier
Insulation levels and vapour barrier placement depend on your climate zone. In most of Canada, the vapour barrier goes on the warm side of the wall, carefully sealed at every seam, staple, and penetration.
Phase 6: Finishing, Inspections, and Move-In (Months 14-18)
The final stretch is the most visible — and often the most satisfying — part of the build.
Drywall, Painting, and Trim
Drywall is hung, taped, and sanded, followed by primer, paint, and trim. This stage is dusty and detail-heavy, so we recommend scheduling trades carefully to avoid bottlenecks.
Flooring, Cabinets, and Fixtures
Hardwood, tile, or luxury vinyl go down, then cabinets, countertops, plumbing fixtures, and light fixtures are installed. Order these materials well in advance — lead times on cabinetry and appliances can stretch for months.
Final Inspections and Occupancy Permit
Before you move in, most Canadian provinces require a final inspection by a building official and an occupancy permit. This confirms the home meets code and is safe to inhabit. Don’t forget to budget time for landscaping, driveway paving, and any final grading required by your municipality.
While timelines can shift due to weather, permit backlogs, or supply chain issues, careful planning and generous buffer time will keep your self-build on track. We’ve seen owner-builders complete projects in 14 months and others take 24 — the difference is almost always preparation and flexibility.
FAQ
How long does it take to build a house in Canada as an owner-builder?
Most owner-builder projects take 14 to 18 months from lot purchase to move-in, though weather, permit delays, and material availability can push that to two years or more.
Do I need an occupancy permit before moving in?
Yes. In most Canadian provinces, you must obtain an occupancy permit from your municipality after a final inspection confirms the home meets the applicable building code.
How deep do footings need to be in Canada?
Footings must extend below the frost line, which is typically 4-6 feet deep depending on your region. Your local building official or engineer will confirm the exact depth.
Are ICF foundations worth it in cold climates?
Yes. ICF systems from brands like Nudura and Logix provide excellent insulation, airtightness, and thermal mass, which reduces heating costs and improves comfort during Canadian winters.
What window frames work best for Canadian winters?
Triple-glazed windows with vinyl or fiberglass frames from manufacturers like Jeld-Wen or Ply Gem perform well in cold climates. Proper installation and flashing are just as important as the window itself.