
Composting and Worm Farming for New Gardens: A Canadian Owner-Builder’s Guide
When we first started building our own home, we quickly realized that a healthy garden starts with healthy soil—and that’s where composting and worm farming come in. After the framing was up and the windows were sealed against the prairie wind, our attention turned to the ground outside. We wanted to grow our own food, but the soil around our new build was compacted, clay-heavy, and lifeless. Building fertility from scratch felt like a second construction project. Composting and vermicomposting turned out to be the cheapest, most rewarding way to turn kitchen scraps and yard waste into black gold. This guide shares what we’ve learned so other Canadian owner-builders can do the same.
Why Composting and Worm Farming Matter for Canadian Gardens
Composting reduces household waste and builds soil organic matter, while worm farming (vermicomposting) produces nutrient-rich castings that plants absolutely love. In Canada, where growing seasons are short and frost can hit well into May in many regions, these methods help extend fertility and improve soil structure so every precious growing day counts.
The Benefits of Composting for Owner-Builders
When you’re building a home, you generate a surprising amount of organic waste—sawdust, cardboard packaging, landscaping trimmings, and kitchen scraps from long workdays. Instead of hauling it to the curb, composting turns it into a free soil amendment. Finished compost improves drainage in heavy clay, helps sandy soil hold moisture, and feeds the microbial life that makes nutrients available to plants. For owner-builders on a budget, it’s one of the few inputs that costs nothing but time.
How Worm Farming Boosts Soil Health in Cold Climates
Vermicomposting takes things a step further. Red wigglers (Eisenia fetida) process food scraps into castings that are richer in available nitrogen, phosphorus, and potassium than typical garden compost. Worm castings also introduce beneficial bacteria and fungi that help roots establish faster—a real advantage when you’re planting perennials and shrubs around a new home and want them to survive their first Canadian winter.
Getting Started with Composting in Canada
We recommend a simple three-bin system built from recycled pallets, or a store-bought composter like the Earth Machine, which is a popular choice in Canada and widely sold through municipal programs. The idea is straightforward: fill one bin, turn it into the second, and let the third finish curing while you start fresh.
Choosing the Right Compost Bin for Your Climate
Your choice depends on space and how much effort you want to invest. Here’s how we think about it:
- Earth Machine: A closed, rodent-resistant unit that works well in small yards and is often subsidized by municipalities.
- Three-bin pallet system: Cheap, spacious, and easy to turn—ideal if you have a larger rural lot.
- Tumbler composter: Great for small urban lots, but capacity is limited.
- Open pile: Works in mild coastal BC but attracts wildlife in most other provinces.
What to Compost (and What to Avoid) in Canada
Balance roughly two parts “browns” (dry leaves, straw, cardboard, sawdust) to one part “greens” (kitchen scraps, grass clippings, coffee grounds). Turn the pile every week or two and keep it as moist as a wrung-out sponge. In winter, insulate the bin with straw bales or move a smaller unit into an unheated garage so it keeps working through the cold months.
Avoid meat, dairy, oils, pet waste, and diseased plants—these attract pests and create odors. Also skip glossy paper and anything treated with chemicals.
Worm Farming Basics for Beginners
Red wigglers (Eisenia fetida) are the best worms for vermicomposting because they thrive in confined bins, eat voraciously, and tolerate handling. They are not the same as earthworms from your garden, so order them from a reputable supplier rather than digging them up.
Setting Up Your Worm Bin
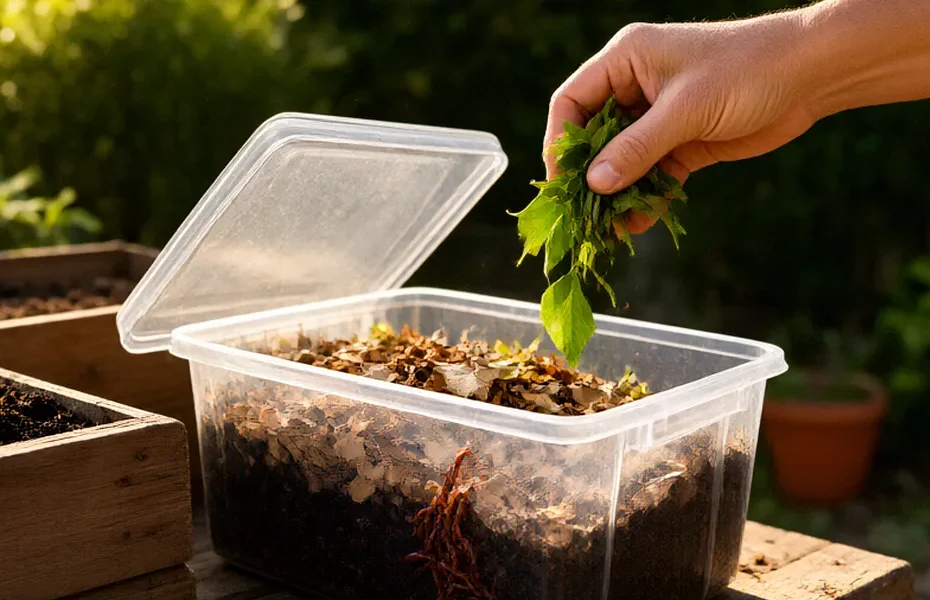
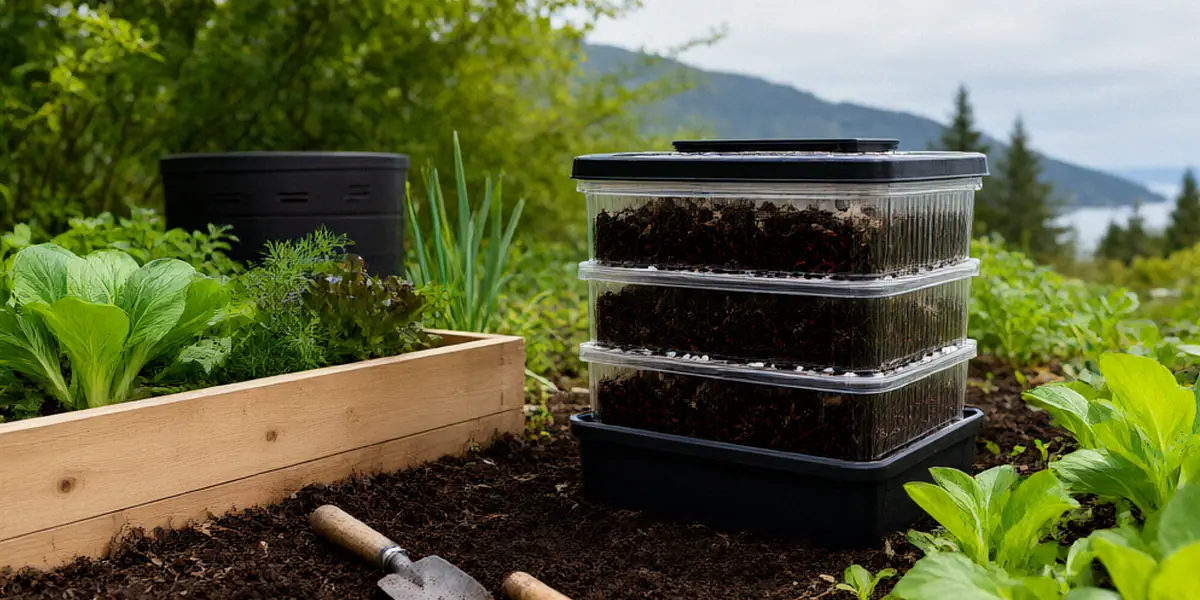
The Worm Factory 360 is a common vermicomposting system that stacks trays and makes harvesting castings easy. A simple DIY rubber tote with drilled air holes works just as well. Layer bedding—shredded newspaper, coconut coir, or aged leaves—about 15 cm deep, add your worms, and let them settle for a few days before feeding. Keep the bin indoors or in a heated garage during Canadian winters; red wigglers freeze and die below about 4°C.
Feeding and Maintaining Your Worms
Feed fruit and vegetable scraps, coffee grounds, crushed eggshells, and small amounts of bread. Bury food under the bedding to discourage fruit flies. Keep the bedding damp like a wrung-out sponge and the bin between 15°C and 25°C. Harvest castings every two to three months by pushing finished material to one side and adding fresh bedding and food to the other—the worms migrate on their own.
Using Compost and Worm Castings in Your Garden
Apply compost as a top dressing around perennials, or mix it into the soil before planting. Worm castings are fantastic for seed starting and potting mixes because they’re gentle and won’t burn seedlings. We use them on our own raised beds and have seen stronger plants, deeper green leaves, and noticeably better yields compared to beds we left untreated.
How to Apply Compost to New Garden Beds
Spread a 5–8 cm layer of finished compost over new beds in spring or fall and work it into the top 15 cm of soil. For established beds, simply top-dress and let earthworms do the mixing. Around new trees and shrubs, keep compost a few inches away from the trunk to prevent rot.
Making Worm Casting Tea for a Nutrient Boost
Mix one part castings with four parts water in a bucket, stir daily for three to four days, then strain and spray or pour around plants. This “tea” gives seedlings and transplants a quick, gentle nutrient boost during the short Canadian growing season.
Troubleshooting Common Issues
Odors, pests, and slow decomposition are the most common complaints we hear from new composters. Almost every problem traces back to moisture balance or the greens-to-browns ratio.
Fixing a Smelly Compost Pile
A rotten-egg or ammonia smell usually means the pile is too wet or has too many greens. Add more browns (straw, leaves, shredded cardboard), turn the pile to introduce oxygen, and cover it during heavy rain. If you see maggots or rodents, you’re likely adding meat, dairy, or cooked food—stop, and bury future scraps deeper in the center.
Dealing with Pests in Worm Bins
Fruit flies mean food is exposed on the surface—bury it deeper. If the bin smells sour, the bedding has gone acidic; add crushed eggshells or a handful of garden lime and cut back on citrus and onion scraps. Mites and springtails are usually harmless. If worms are climbing the walls, the bin is too wet or too acidic—add dry bedding and hold off feeding for a week.
Integrating Composting into Your Self-Build Project
Plan space for compost bins and worm bins during your build, not after. We suggest locating them near the kitchen door and the garden so daily trips are short. A simple gravel pad, a low cedar screen, and a covered lid keep things tidy and neighbor-friendly.
Designing a Compost Area in Your Landscape
Orient bins so they get partial sun (heat speeds decomposition) but aren’t baking in full afternoon exposure. Leave room to swing a pitchfork. If you’re in a subdivision with lot-grading requirements, keep bins on a level, well-drained pad away from foundation drainage.
Local Resources and Rebates for Canadian Owner-Builders
Check your municipal bylaws before you build—some cities restrict bin placement or open piles. Many programs offer rebates: the City of Toronto offers a rebate for composters, and similar programs exist in Ottawa, Halifax, and various regional districts in BC. Your local conservation authority or master gardener group is also a great source for free workshops.
FAQ
Can I compost year-round in Canada?
Yes, but the process slows dramatically in winter. Insulate your bin with straw bales, keep it in a sunny spot, and accept that decomposition will pause during deep freezes and resume in spring. Worm bins must be moved indoors or into a heated garage.
Where do I buy red wigglers in Canada?
Look for local worm farms, bait shops, or online Canadian suppliers. Avoid worms sold for fishing that may be a different species. Eisenia fetida is what you want.
How long until I get finished compost?
With regular turning and good moisture, expect finished compost in two to four months during warm weather. Passive piles can take six months to a year.
Do worm castings replace fertilizer?
They’re a soil amendment, not a complete fertilizer. Castings improve soil biology and provide moderate nutrients. For heavy feeders like tomatoes, you may still want to supplement.
Will composting attract bears or raccoons?
In most urban and suburban areas, a closed bin like the Earth Machine manages raccoons fine. In bear country, avoid outdoor compost altogether and stick to indoor vermicomposting.
Composting and worm farming are ongoing, rewarding practices that any Canadian owner-builder can master. They turn the waste from your build and your kitchen into the foundation of a thriving garden—no matter how short your growing season. Start small, stay patient, and your soil will repay you for years.