
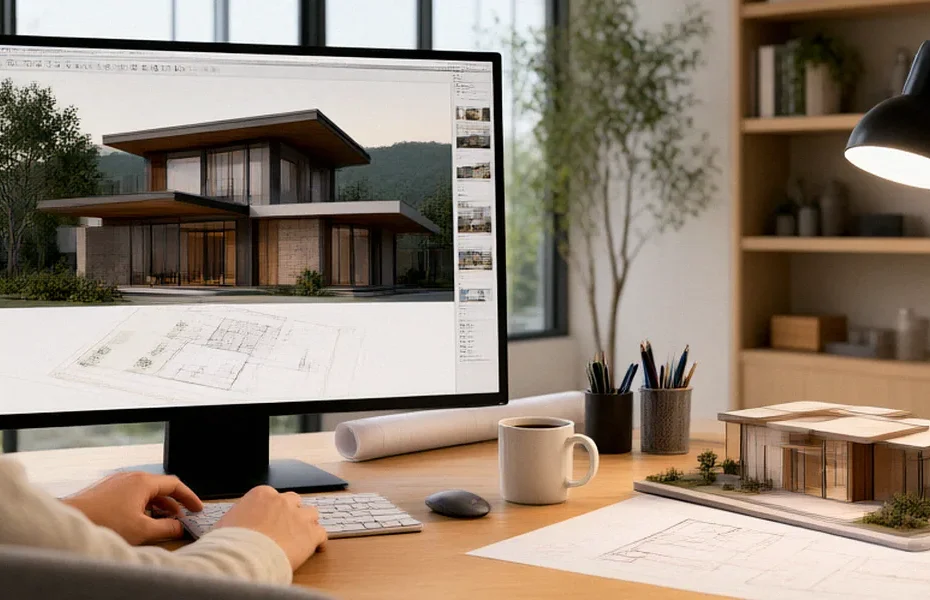
Designing Your House in SketchUp: A Self-Build Guide for Canadians
When we started our first self-build, we quickly realized that a napkin sketch wasn’t going to cut it—especially when it came time to apply for building permits in Canada. Municipal reviewers want dimensioned drawings, elevations, and window schedules, not a doodle on the back of a coffee shop receipt. That’s when we opened SketchUp, and honestly, we haven’t looked back since. This guide walks through exactly how we use SketchUp as owner-builders, from setting metric units to exporting permit-ready construction sets, and shares the mistakes we made so you don’t repeat them.
Why We Chose SketchUp for Our Self-Build Projects
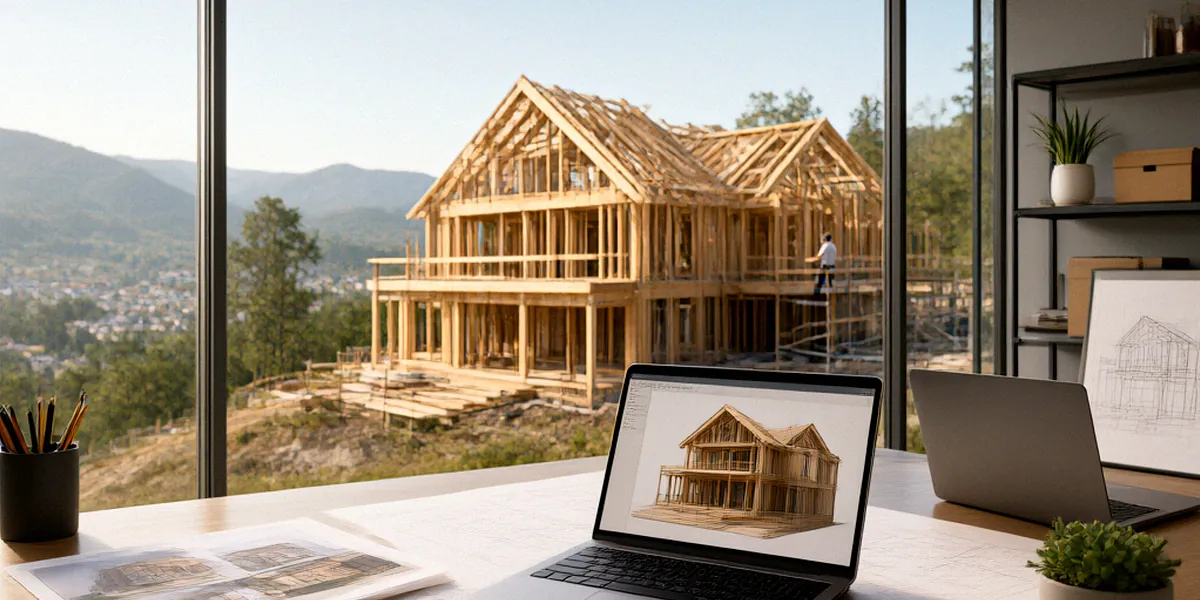
We tested a handful of design tools before committing. AutoCAD felt like overkill for a two-storey infill, and Home Designer Pro, while capable, locked us into its own wall and roof logic. SketchUp hit the sweet spot: we could sketch a wall in seconds, push-pull it into a 3D volume, and immediately see how a window frame would sit against a 2×6 insulated wall. For an owner-builder juggling a day job and a build schedule, that speed matters more than a long feature list.
SketchUp vs. Traditional Drafting Software
AutoCAD is a drafting powerhouse, but it’s 2D-first and has a steep learning curve. SketchUp is 3D-first—you model in three dimensions and extract 2D drawings later. Home Designer is friendlier for pure residential work, but its parametric walls can fight you when you want an unusual detail, like a deep roof overhang for snow shedding. SketchUp lets us build exactly what we want, then group and tag it so the model stays organized. We also lean on the 3D Warehouse for ready-made components, which saves hours on repetitive items like doors and fixtures.
Cost and Accessibility for Canadian Owner-Builders
The free web version of SketchUp runs in a browser and covers most of what a self-builder needs for schematic design. When we needed LayOut for construction documents, we moved to SketchUp Pro, which offers a free trial so you can test the full workflow before paying. Compared to a drafting consultant at $80–$150 per hour in most Canadian cities, the subscription pays for itself on a single project. We also appreciate that the web version works on a Chromebook, so we could review drawings on site without hauling a laptop.
Getting Started: Setting Up Your SketchUp Model for a Canadian Climate
Before drawing a single wall, we set up the model correctly. Getting units, orientation, and site context right at the start saves painful rework later—especially when you’re trying to demonstrate solar gain for a passive design or prove your roof can handle a Canadian snow load.
Configuring Units and Templates
Canada is metric, so switch SketchUp to millimetres or metres before you draw anything. We use millimetres for detail work (window frames, insulation thickness) and metres for site plans. Set your template once and save it, so every new model starts with the right units, a north arrow, and a title block. We also build a layer/tag structure early:
- Site
- Foundation
- Walls
- Roof
- Windows and Doors
- Annotations
This keeps the model clean when you start generating sections and schedules.
Importing Site Plans and Using Geo-Location
We import our surveyor’s DWG or PDF site plan and scale it to match a known dimension, then trace the property lines and setbacks. SketchUp’s Add Location feature pulls in geo-referenced terrain, which gives us accurate solar orientation—critical when you’re sizing overhangs to shade summer sun but admit winter light. We also check the local zoning bylaw for setbacks before we place a single wall, because nothing kills a design faster than discovering your garage violates a 1.2 m side-yard setback.
This is also the moment to pull up the National Building Code of Canada (NBC) and your provincial code—Ontario’s Building Code, for example, has its own Part 9 requirements for houses under 600 m². We keep the relevant tables open in a browser tab while we model, so we can check minimum ceiling heights, stair dimensions, and window egress as we go.
Drafting Your Floor Plan and Key Details
With the model set up, we start drawing. We work from the outside in: exterior walls first, then interior partitions, then openings. The goal isn’t a pretty picture—it’s a dimensionally accurate model that will survive a building official’s review.
Drawing Walls and Openings
We draw walls as rectangles and push-pull them to the correct height, then use the Offset tool to add wall thickness. For a Canadian climate, we typically model 2×6 framing with exterior rigid insulation, giving us a wall assembly that meets or exceeds NBC minimums. When we cut a door or window opening, we use the Rectangle tool and push it through the wall, then group the opening so it doesn’t merge with the wall geometry. This grouping discipline is what lets us generate accurate schedules later.
Adding Windows and Doors with Realistic Dimensions
Standard window frames in Canada follow nominal sizes—600 mm, 900 mm, 1200 mm widths are common—so we model those dimensions rather than arbitrary ones. This matters because your window supplier will quote from standard sizes, and custom frames add weeks and cost. We search the 3D Warehouse for Canadian-specific components like triple-glazed windows with Low-E coatings, then drop them into our openings. For doors, we model 810 mm and 910 mm widths for interior passages and 915 mm for exterior entries, checking egress requirements in the NBC as we go.
A quick tip: tag every window and door with its size and type (e.g., W1-1200×1500-TG for triple-glazed). That tagging feeds directly into the window schedule you’ll need for permits.
Using SketchUp for Building Permits and Construction Documents
This is where SketchUp earns its keep. Once the model is accurate, we can slice it, elevate it, and schedule it—turning a 3D model into the 2D drawing set a building department expects.
Creating Permit-Ready Drawings
We use SketchUp’s section planes to cut floor plans and building sections, then send those views to LayOut. From the model we generate:
- Floor plans at 1:50 or 1:100
- Four elevations
- Two building sections
- Window and door schedules
- A site plan showing setbacks
Many Canadian municipalities, including Toronto and Vancouver, now accept digital submissions through their online portals. That said, always check your local requirements—some smaller municipalities still want stamped paper drawings, and requirements vary by province.
Exporting to Layout for Construction Sets
LayOut is SketchUp’s companion for 2D documentation. We link our model views to LayOut pages, add dimensions, notes, and a title block, then export to PDF. Because LayOut references the model, any change we make in SketchUp updates the drawing set automatically—a huge time-saver when the building official asks for a revision. We keep a separate LayOut file for the permit set and another for the construction set, since your builder needs more detail (framing notes, insulation specs) than the permit reviewer.
Advanced Tips: Rendering, Walkthroughs, and Collaboration
Once the design is locked, we use SketchUp’s ecosystem to sell the vision to our family, our lender, and our trades. A photorealistic render does more to communicate a design than any floor plan.
Rendering with V-Ray or Enscape
V-Ray and Enscape both plug into SketchUp and produce realistic renders with accurate sunlight. We use Enscape for fast real-time walkthroughs—handy for checking sightlines and ceiling heights—and V-Ray when we need a polished image for a financing package. Rendering also reveals problems: a window frame that looked fine in plan may cast an ugly shadow once you see it in 3D.
Sharing Models with Your Builder
We share models with our builder using Trimble Connect, which lets them view the model on a tablet on site without needing SketchUp installed. Before handoff, we review window frames and insulation details together—confirming that the wall assembly we modeled matches what the framer will actually build. Getting that alignment early prevents expensive change orders mid-construction.
Common Mistakes We Made (And How You Can Avoid Them)
We’ve made our share of errors. Two stand out, and both cost us time and money.
Forgetting Snow Loads and Roof Overhangs
Our first model had a shallow roof overhang, which looked sleek but would have dumped snow right against the foundation. We also underestimated snow load—Canada’s ground snow loads range from about 1.0 kPa on the coast to over 3.0 kPa in parts of Quebec and Newfoundland. The Canadian Mortgage and Housing Corporation (CMHC) publishes guidelines on snow load and moisture management that we now consult before finalizing any roof design. Deep overhangs and a properly sloped roof aren’t aesthetic choices in Canada—they’re structural necessities.
Not Validating with a Structural Engineer
SketchUp will happily let you draw a beam that can’t carry the load above it. We learned this the hard way when our engineer flagged a header that was undersized for a 4.8 m opening. Now we send our model to a structural engineer before submitting for permits. It costs a few hundred dollars and saves thousands in rework—and most building departments require engineer-stamped drawings for anything beyond a simple Part 9 house anyway.
FAQ
Is the free version of SketchUp enough for a self-build?
For schematic design and 3D visualization, yes. The free web version handles walls, windows, and basic components well. But once you need permit-ready construction documents with dimensions and schedules, you’ll want SketchUp Pro and LayOut. We started free, then upgraded when we began our permit submission.
Can I submit SketchUp drawings for a building permit in Canada?
Yes, provided they meet your municipality’s requirements. Toronto and Vancouver accept digital submissions, and LayOut exports clean PDFs that most reviewers accept. Always confirm with your local building department first—requirements differ by province and even by municipality.
Where do I find Canadian-specific components like triple-glazed windows?
The 3D Warehouse has a growing library of Canadian components, including triple-glazed windows, insulated doors, and snow-rated roof assemblies. Search by brand name or by specification (e.g., “triple glazed window Canada”) and verify dimensions against your supplier’s catalogue before finalizing.
Do I still need an architect or engineer if I use SketchUp?
For most self-builds in Canada, you’ll need a structural engineer to stamp the framing and foundation drawings, and some provinces require an architect or engineer for larger or more complex homes. SketchUp is a design tool, not a substitute for professional sign-off. We always have our engineer review the model before submission.
How accurate does my SketchUp model need to be for permits?
Accurate enough that a reviewer can verify code compliance: dimensions, ceiling heights, egress window sizes, stair geometry, and wall assemblies. We aim for millimetre accuracy on structural elements and standard nominal sizes for windows and doors. If your model matches what you’ll actually build, you’re in good shape.
SketchUp is a powerful tool for owner-builders, but it’s not a substitute for professional advice. Always consult your local building officials and a structural engineer before breaking ground. Get the model right, get the permits approved, and the build itself becomes far less stressful.